Export datasets
You can export your datasets to a local storage or to a connected Robovision AI platform. If you export samples without annotations to local storage, they are exported as TIFF. In other cases, samples are exported in the platform's native format (records).
You can export datasets from the dataset list in the data center, the dataset details page, and the project details page.
Note
To successfully perform data import and export operations in Robovision AI, ensure the following:
- Use a Chromium-based browser (Google Chrome, Microsoft Edge, and more).
- The Robovision AI URL must contain https or be added to the list of secure websites (see Configure your browser).
To export datasets from the dataset details page
- On the project details page, navigate to the Data center section.
- In the Data center section, click the right-arrow button (
 ).
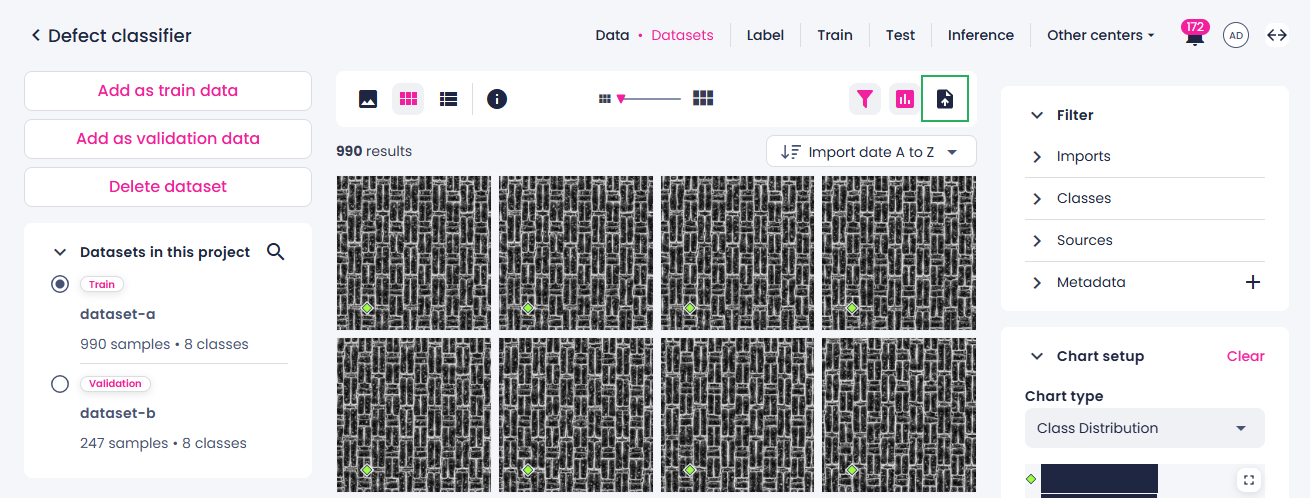
). - On the Datasets tab, click the dataset that you want to export.
-
On the dataset details page, above the samples, click the export button.
-
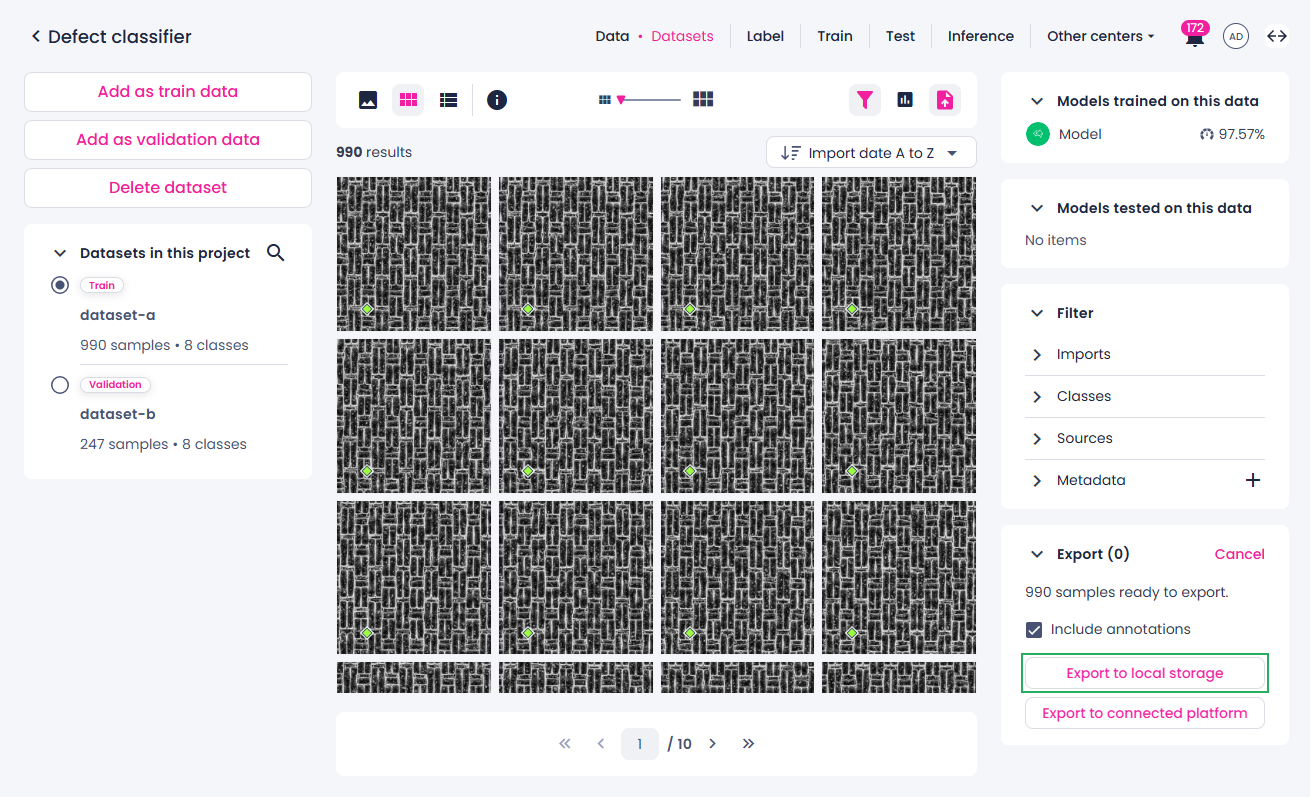
In the Export panel on the right, do one of the following:
-
To export samples to your computer:
-
Click Export to local storage.
-
Select the location where you want to save the samples. You can select an existing empty folder or create a new one.
-
In the Let site edit files dialog in your browser, click Edit files.
If the selected folder isn't empty, you are prompted to create or select an empty one.
The samples with their annotations and tags (if any) are exported as a compilation of files. You can track the progress in the Export panel.
-
-
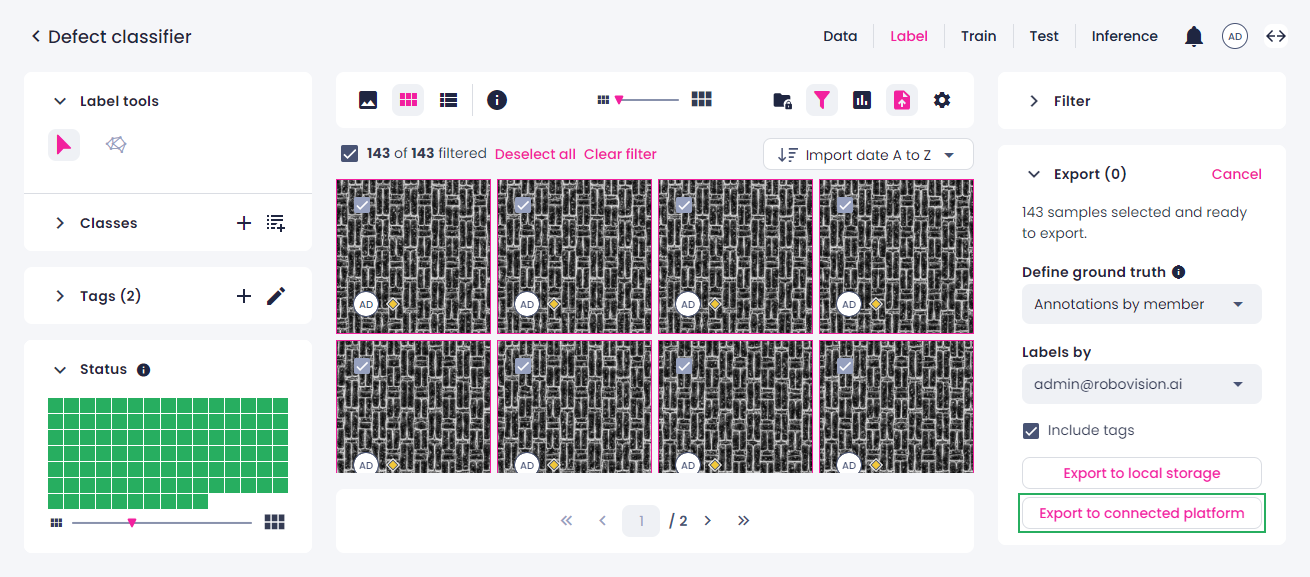
To export to the connected platform:
-
Click Export to connected platform.
If the button appears dimmed, you first need to set up a connection.
-
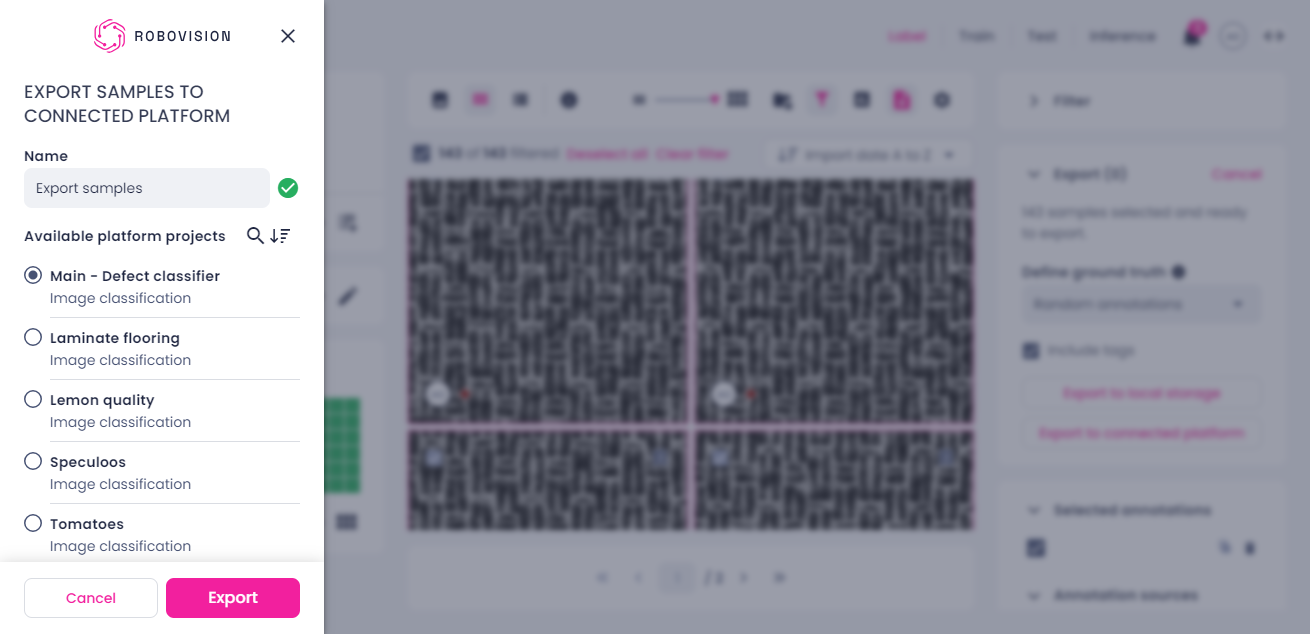
In the sidebar, change the export name if needed.
-
Select the target project.
The list includes only compatible projects—the ones with the same project type (for example, image classification). You can use search and sorting to find the necessary project quickly.
The list may contain projects with the Limited functionality status. These are the projects that use the deleted algorithm version. You cannot select these projects.
-
Click Export.
The dataset is exported to the connected platform and will appear in the imports list. The member whose credentials were used to set up the connection becomes the author of these annotations on the target platform.
You can track the export progress in the Export panel.
-
-
-
To stop the export, click the stop button (
 ), and then, in the confirmation dialog, click Confirm.
Note
When you stop the export, the data that was already exported remains on the target platform. If you have connection issues during the ongoing export, it will resume automatically once the connection is restored.
When the export is completed, it will disappear from the list, and you will receive a notification.
Alternatively, you can export your datasets from the dataset list on the Datasets tab.
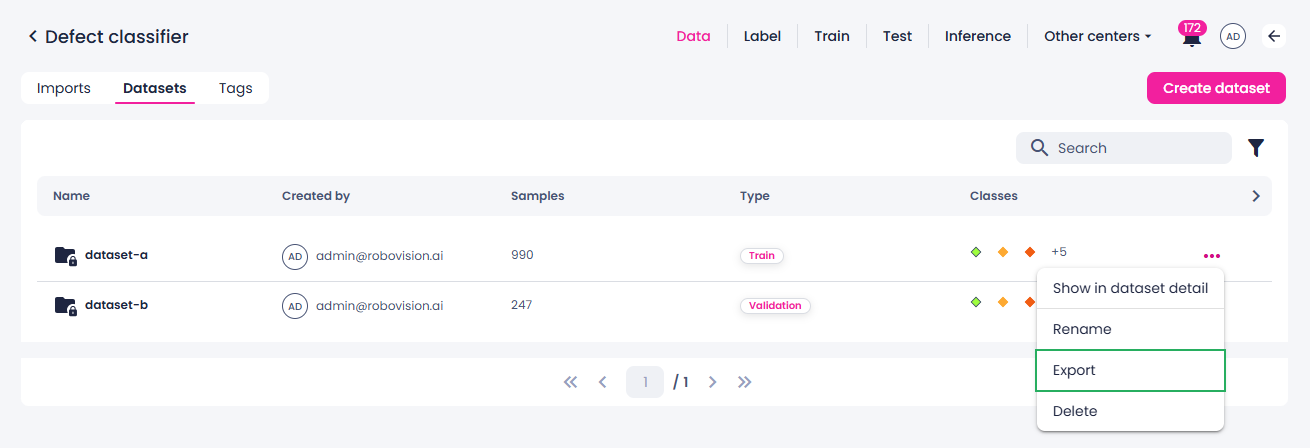
To export datasets from the dataset list
- On the project details page, navigate to the Data center section.
- In the Data center section, click the right-arrow button ().
- On the Datasets tab, hover over the dataset that you want to export.
-
Click the ellipsis button, and then select Export.
-
In the Export dataset dialog, select if you want to export your dataset with or without annotations.
-
Select where to export your dataset:
-
To export samples to your computer:
- Select Local storage, and then click Confirm.
- Select the location where you want to save the samples. You can select an existing empty folder or create a new one.
-
In the Let site edit files dialog in your browser, click Edit files.
If the selected folder isn't empty, you are prompted to create or select an empty one.
-
To export to the connected platform:
-
Select Connected platform, and then click Confirm.
If the option appears dimmed, you first need to set up a connection.
-
In the sidebar, change the export name if needed.
-
Select the target project.
The list includes only compatible projects—the ones with the same project type (for example, image classification). You can use search and sorting to find the necessary project quickly.
-
Click Export.
The dataset is exported to the connected platform and will appear in the imports list. The member whose credentials were used to set up the connection becomes the author of these annotations on the target platform.
-
You can track the export progress in the dataset list next to the corresponding dataset.
-