Create and apply tags
To help organize your samples, you can create and apply tags in the data center, label center, and test center. Tags are shared across centers and can be used to filter, group, and manage samples during review and processing.
To group your data, begin by creating a tag, and then apply it to your samples.
To create and apply tags in the label or test center
- On the project details page, in the Label center section, click the right-arrow button (
 ).
). -
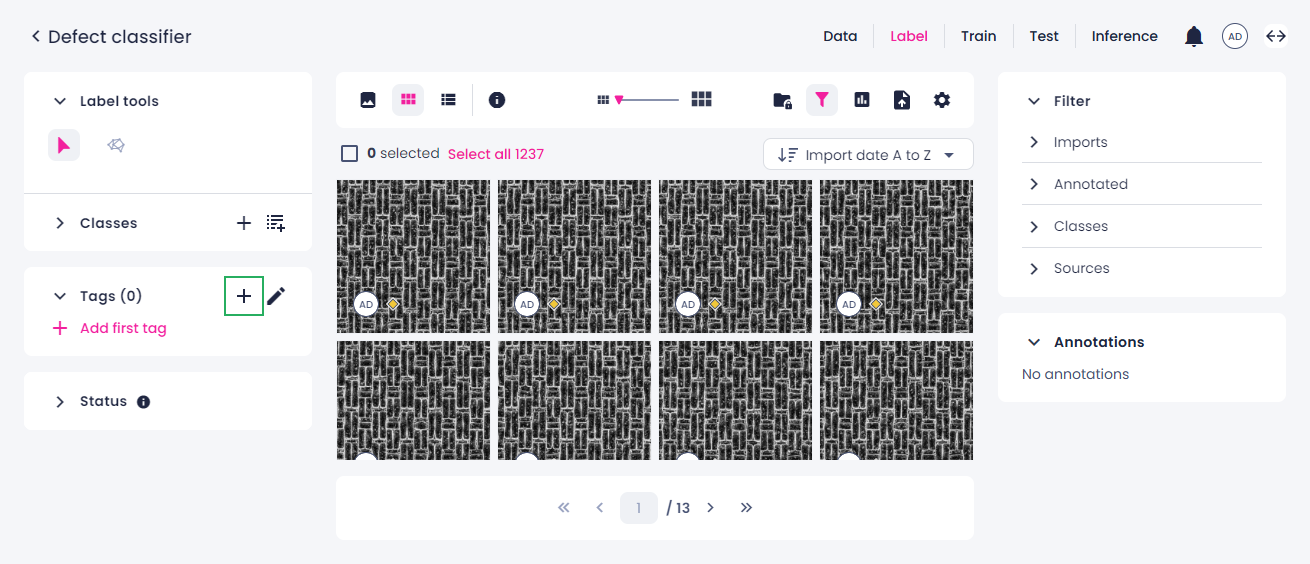
To create a tag, in the Tags panel on the left, click the plus button.
-
Enter a unique name for the tag, and then press Enter.
The tag appears at the top of the list in the Tags panel. The number next to Tags indicates the total number of tags created. The tag is also available in the Tags group of the Filter panel.
-
To apply the tag, in the thumbnails view, select the samples you want to tag.
- In the Tags panel, hover over the tag, and then click the tag icon or name.
The tag is assigned to the selected samples and displayed with a filled icon. The samples stay selected, so you can apply additional tags.
To create and apply tags in the data center
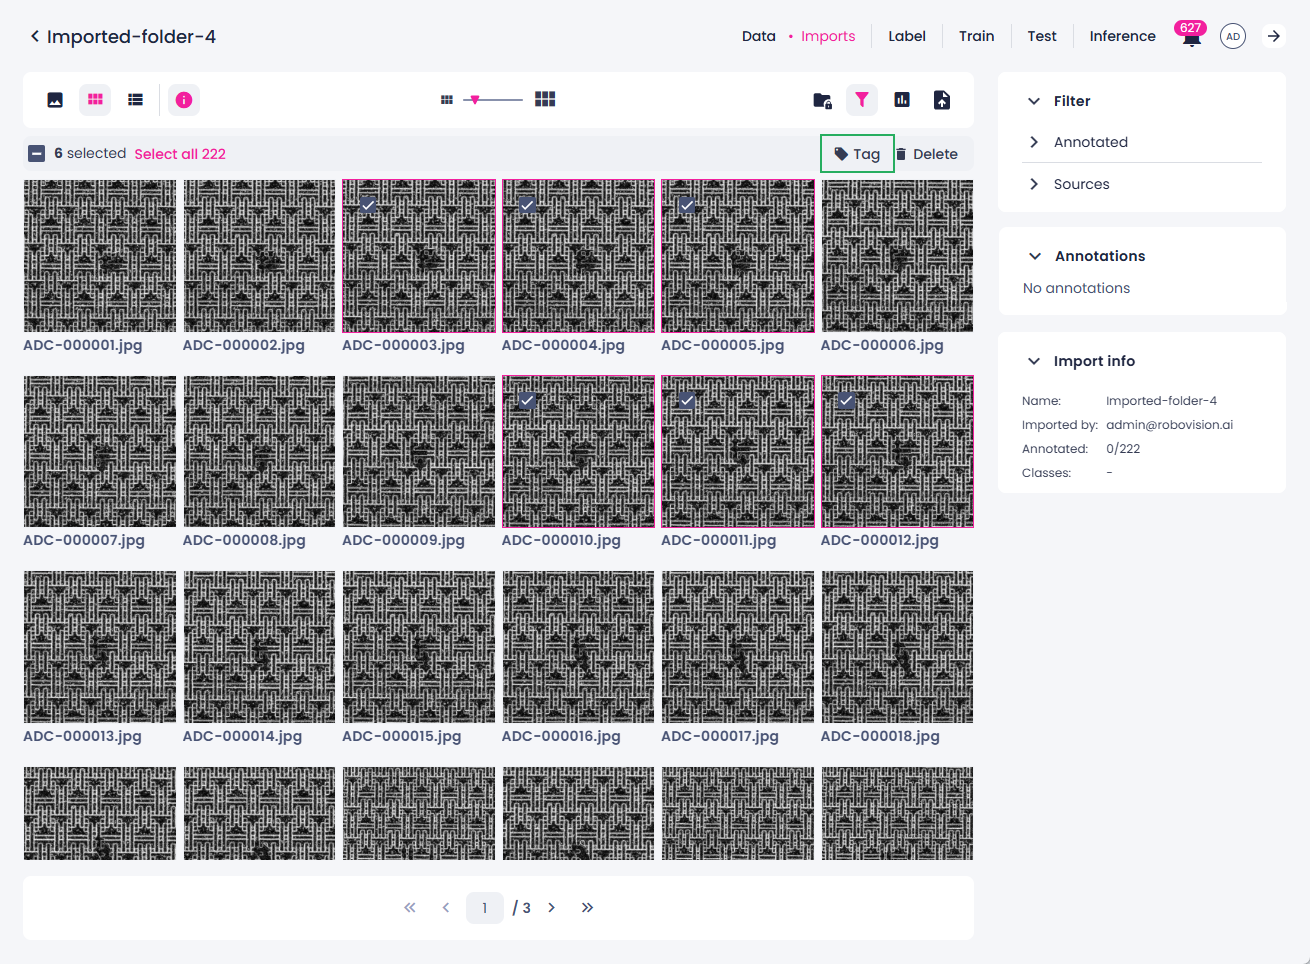
- On the project details page, in the Data center section, click the right-arrow button ().
- To create a new tag, go to the Tags tab.
- Click Create tag, enter a unique name, and then click Save.
- To apply a tag, on the Imports tab, select the import where you want to tag data.
- Select one or more samples. For more information, see Sample selection in different views.
-
Above the samples, click Tag.
To view assigned tags
-
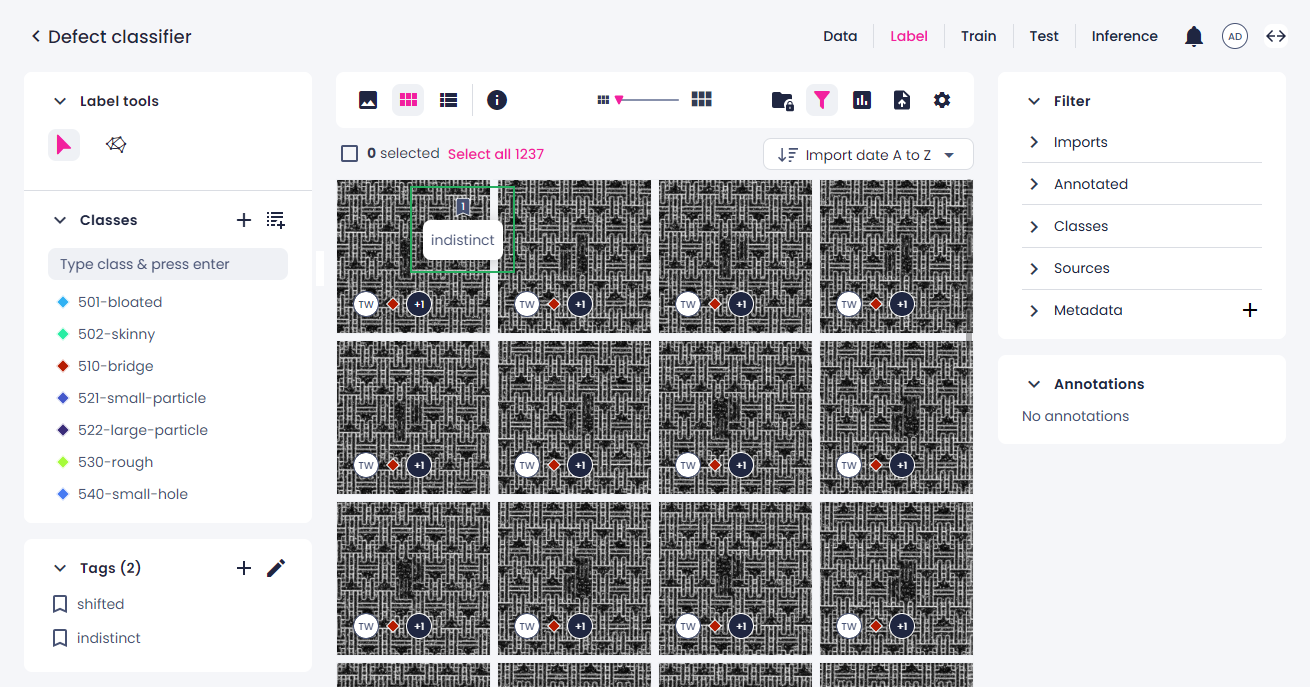
Thumbnails view: The tag flag is displayed in the thumbnail. Hover over the flag icon to see assigned tags.
-
Single view: Open the Sample info panel by clicking the info icon (
 ) on the top toolbar.
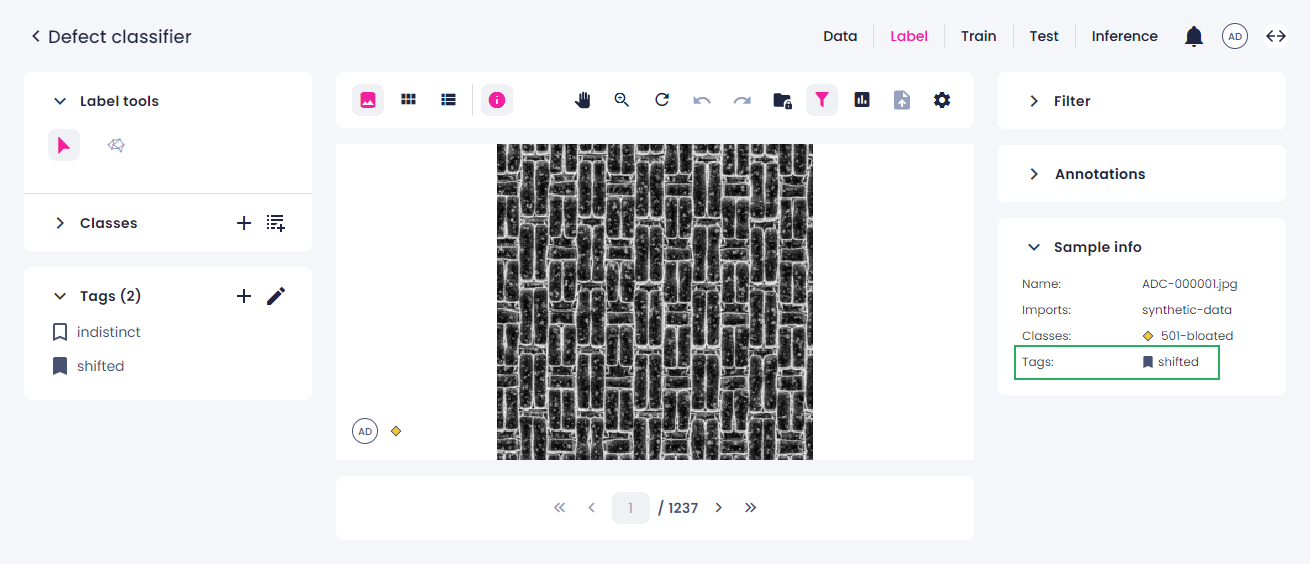
-
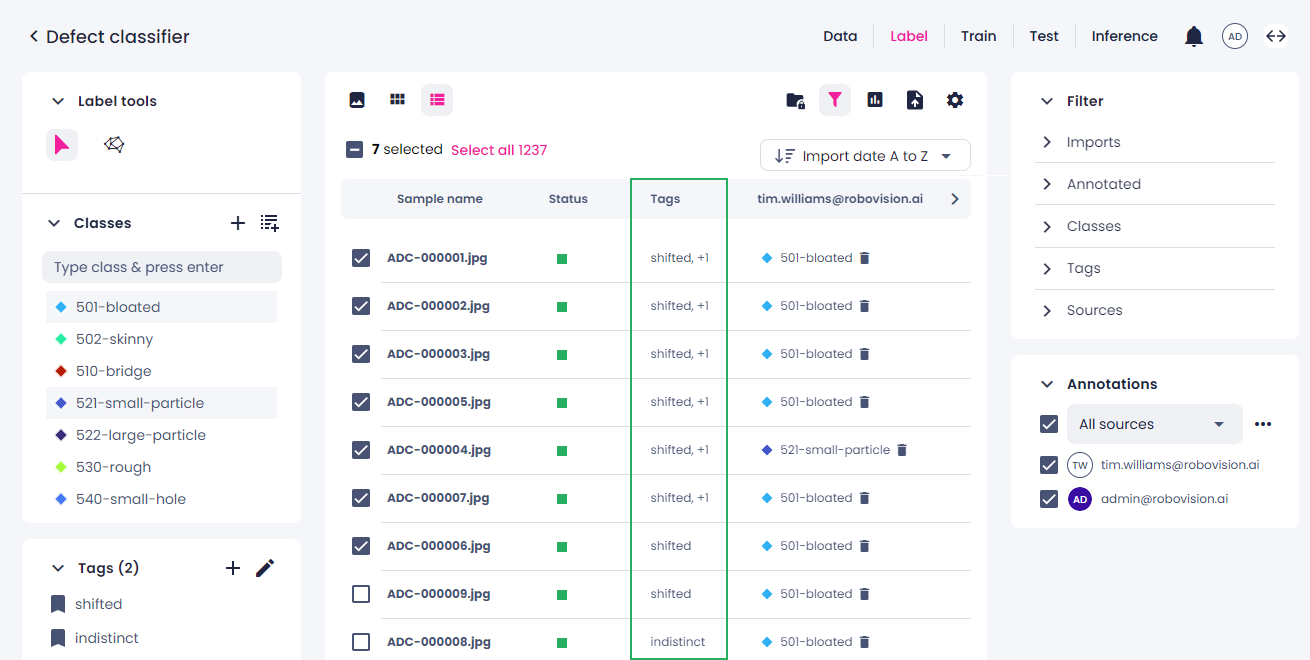
List view: Assigned tags appear in the corresponding column.
To unassign tags from samples
- Select the samples with the tag you want to remove.
- In the Tags panel, click the tag icon.
- In the confirmation dialog, click Confirm.
The tag is unassigned from the selected samples. Tags are displayed with a filled flag if assigned to samples, or an empty flag if not assigned.