Test models
To test your model, do the following:
Step 2. Select a model to test.
Step 1. Add test data
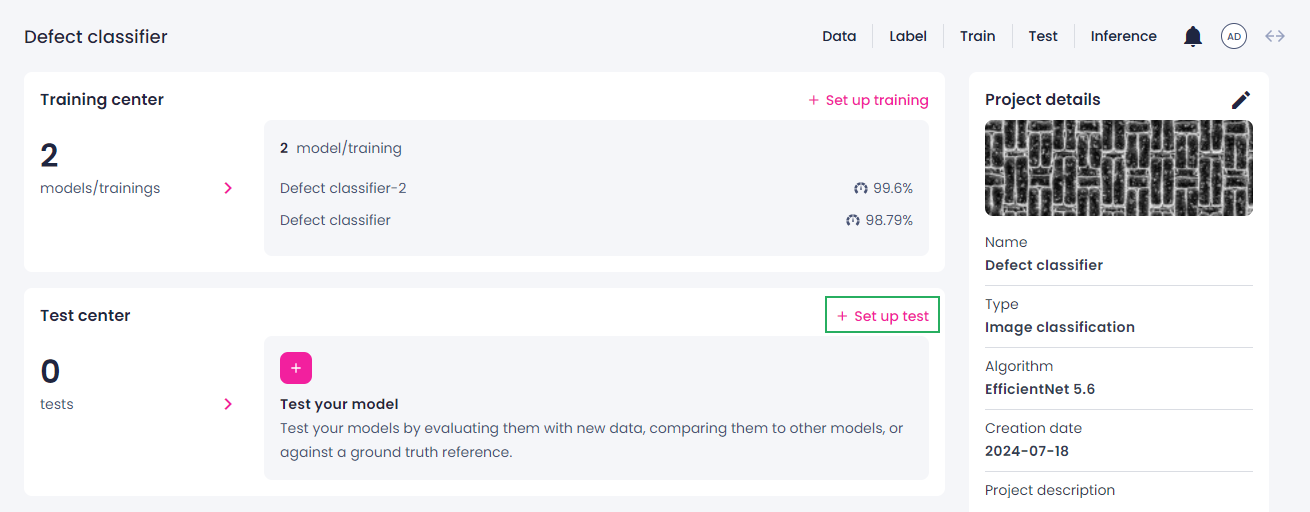
- Go to the Projects module.
- Click the name of the necessary project.
-
In the Test center section, click Set up test.
-
To add test data, on the left, next to Test data, click Add.
-
Select if you want to test on annotated or unannotated data:
-
To add annotated data, select Datasets, and then select one of the existing datasets.
The list of datasets contains the train and validation sets as well as other datasets created in the label center. Once you add a dataset, the ground truth from the dataset will be displayed below the dataset.
-
To add unannotated data, select Tagged data & imports (without labels), and then upload new data from your computer or select the available imports.
The list will also contain the tagged data.
-
-
Click Add data.
Step 2. Select a model to test
- Next to Test models, click Add.
- Select a model that you want to test.
- Click Add to setup.
- To change the test model, hover over the selected model, and then click the delete button (
 ).
). -
To edit the inference parameters, next to Inference parameters, click the edit button (
 ).
).If the project already contains optimized thresholds per class, you can use one of the following options:
- Use the class thresholds generated with the most recent optimization (the default option).
- Use the class thresholds from one of the earlier optimizations in the project.
-
Set the class thresholds manually.
Tip
To adjust the class thresholds generated with a certain optimization:
-
In the Select class thresholds field, select the needed optimization.
The class thresholds that were generated with this optimization are displayed, but you can't edit them.
-
In the Select class thresholds field, select Manually edit thresholds.
- When the class thresholds become editable, adjust their values as needed.
-
-
Use no class thresholds.
All class thresholds are set to 0. In other words, no samples will be classified as "unknown". For more information about "unknowns", see Threshold optimization.
-
Click Save.
Note
Object detection and instance segmentation projects:* The confidence threshold parameter impacts how many confusion matrices will be generated for this test—the higher the threshold, the fewer matrices. For example, if you set the threshold to 0.7, you will see only 3 confusion matrices in the test center: for the 0.7, 0.8, and 0.9 thresholds. For more information, see Confusion matrix.
-
Click Run test.
You can now view the estimated time and the progress of the test. If the test is taking longer than expected and you want to save the time and resources, you can stop the test.
You can also start a new test while the previous test is still running. To start a new test, in the upper-left corner, click Set up test.
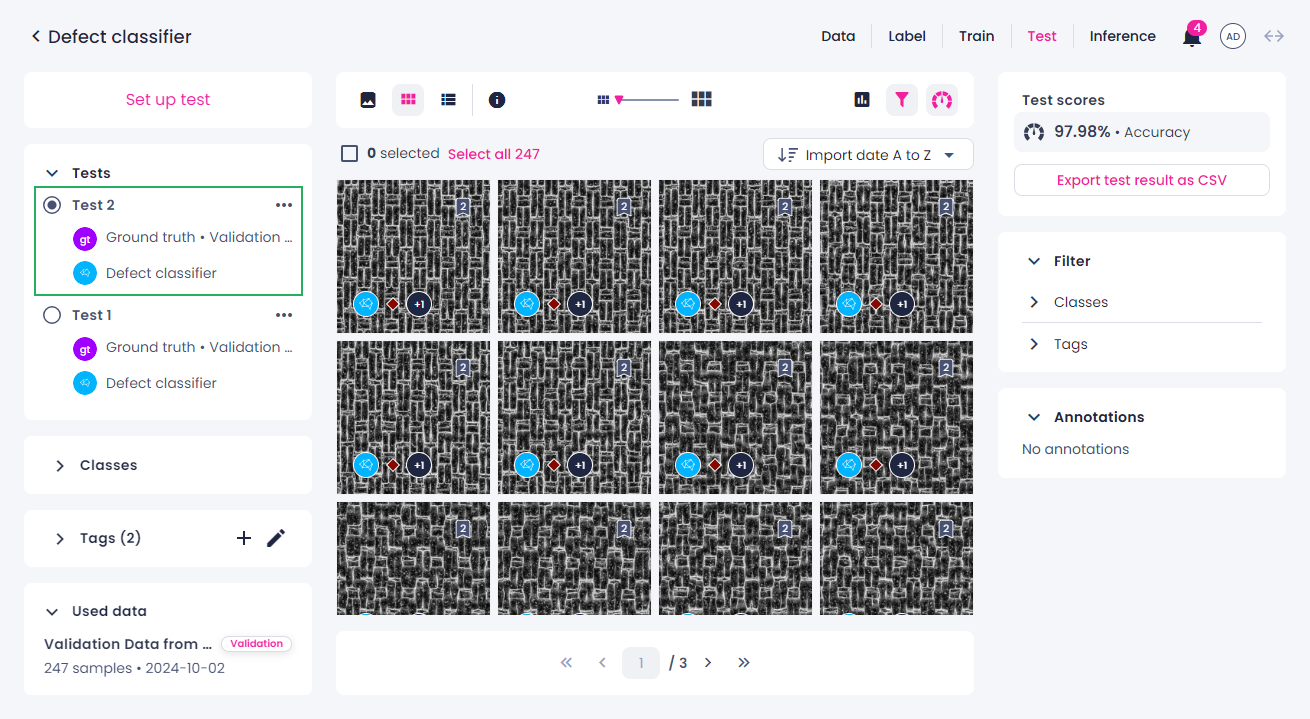
To view the results or progress of another test, select the necessary test in the list of tests.
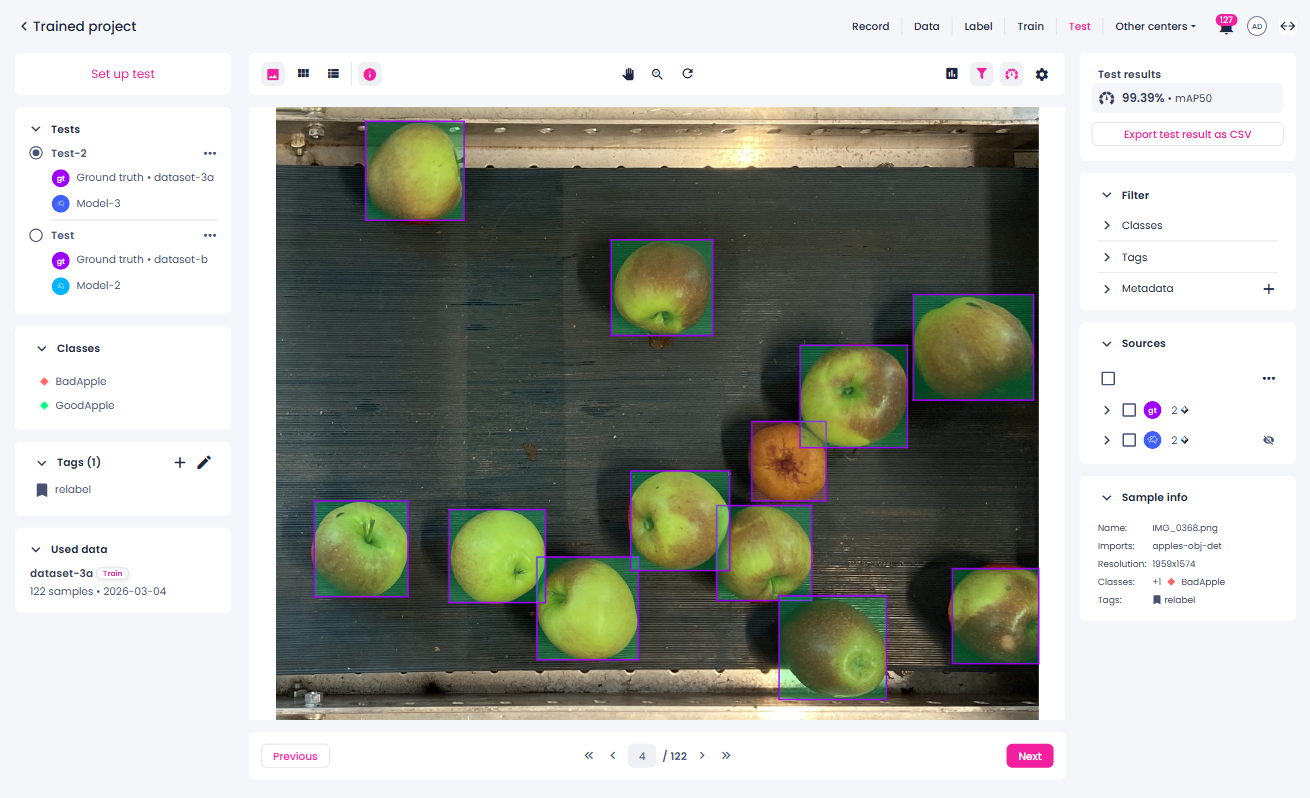
To view individual annotations in segmentation or detection projects, open the single view. Annotation borders reflect the annotation source, so you can distinguish ground truth from model outputs. Annotation fills use class color, as in the label center.
This screenshot shows how to interpret annotation colors in the test center:
- The purple border identifies the annotation source: ground truth.
- The green and red fills identify annotation class colors.
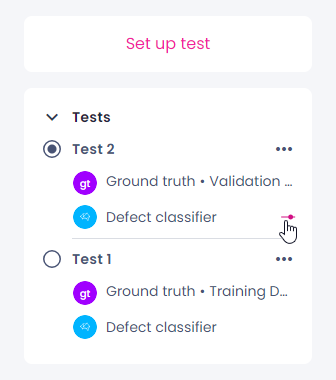
When the test is completed, you can revise the parameters of the model used for testing. For this, hover over the model name, and then click the icon next to it.
What's next?
- Use charts to analyze test results.
- Filter and tag off-diagonal samples that need reviewing in the label center.