Open camera tooling
Camera tooling allows you to configure cameras directly from your browser using Pylon Viewer and IP Configurator. This feature is available for on-premises installations with the camera tooling feature flag enabled.
- Pylon Viewer: Adjust camera settings and download PFS (Pylon Feature Stream) files for use in Robovision AI.
- IP Configurator: Configure IP addresses on your cameras.
To access camera tooling
- On the Camera management page, go to the Cameras tab.
-
Click Open camera tooling.
A noVNC page opens in your browser, allowing you to run Pylon Viewer and IP Configurator from your browser.
-
Click Connect, and then enter your credentials.
To save camera settings as a PFS file
-
In the camera tooling menu, enter '1' and press Enter.

-
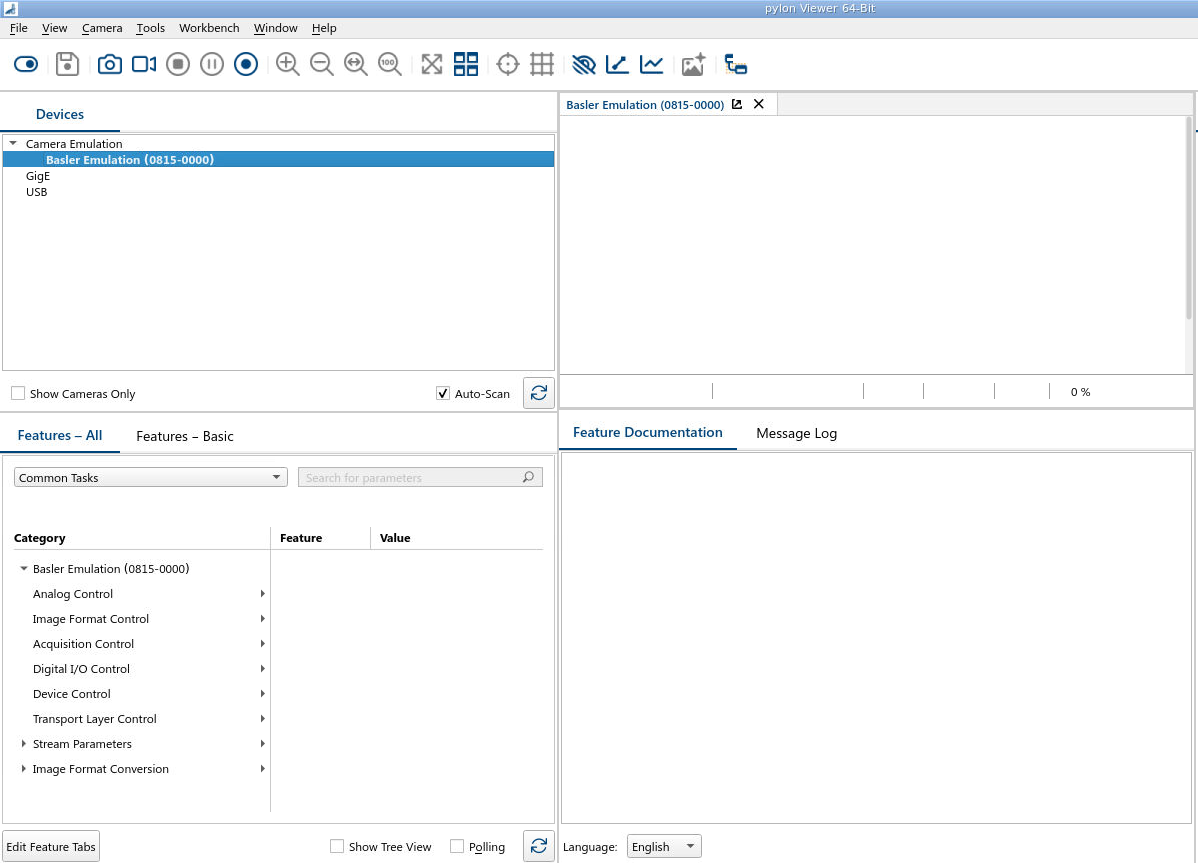
In Pylon Viewer, on the left, select the camera you want to configure.
-
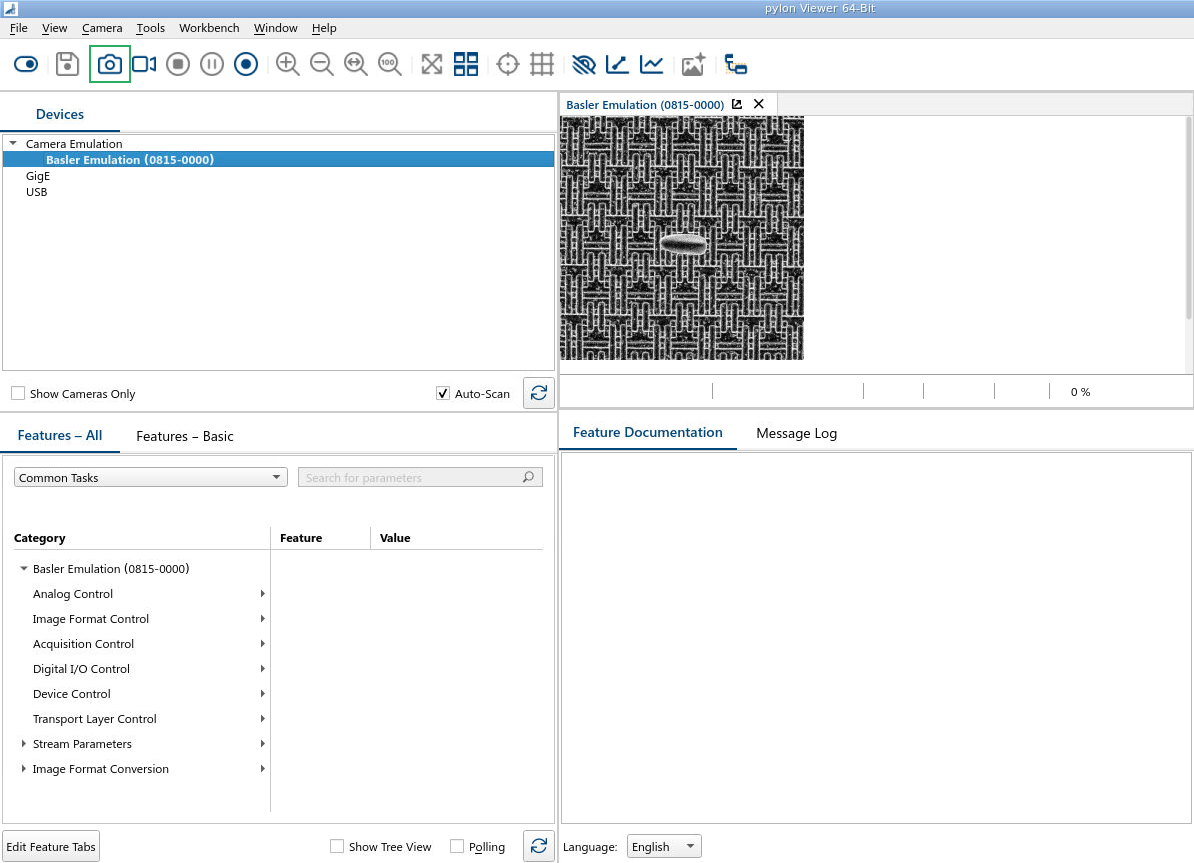
(Optional) To preview the camera output, on the toolbar, click the preview button.
-
Adjust the camera settings as needed.
-
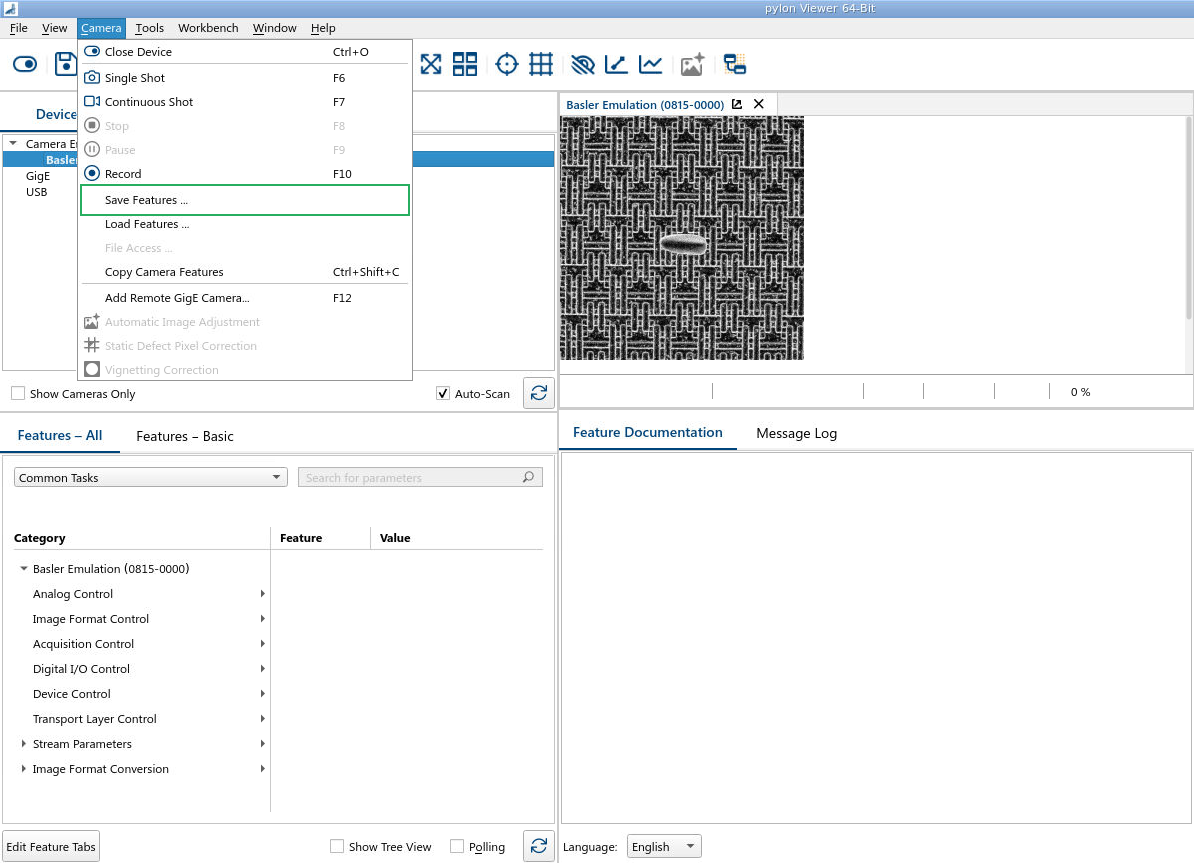
On the menu, select Camera > Save features.
-
Navigate to the
cameraadmin/pfsfolder. -
Click Save.
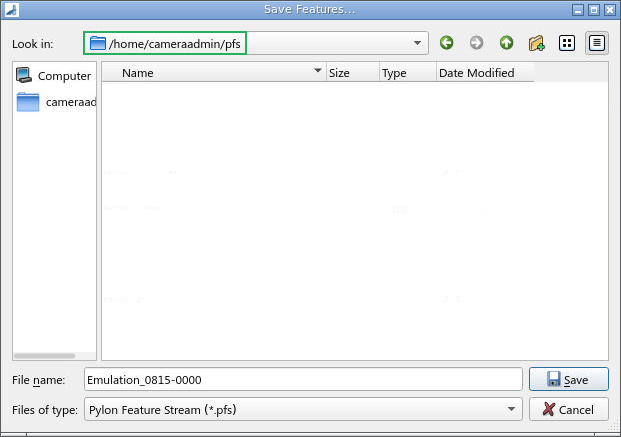
The PFS file is saved and becomes available when adding cameras in Robovision AI.
To return to the terminal, close the Pylon Viewer window.
To download a PFS file to your computer
- In your browser address bar, remove
/vncfrom the URL. - Navigate to the
cameraadmin/pfsfolder. - Download the PFS file you need.
To configure IP addresses
-
In the camera tooling menu, enter '2' and press Enter.

The pylon IP Configurator opens in a new window.
-
In the top pane of the IP Configurator, select the camera whose IP configuration you want to change.
-
In the lower left pane of the IP Configurator, change the necessary settings:
- Static IP: Assign a permanent IP address to the camera. You may also need to specify a subnet mask and a gateway. Make sure that the camera is in the same subnet as the adapter and has a unique IP address.
- DHCP: Allow a DHCP server to assign an IP address to the camera.
- Auto IP (LLA): Let the camera assign itself an IP address automatically.
-
Click Save.