
Label data
To label the imported data, use the Smart mask tool that enables you to perform one-click segmentation. Powered by the SAM (Segment Anything Model), it automatically refines and generates potential masks for a single image or for multiple (filtered or selected) images. These potential masks are not automatically saved, and you can adjust the class or the boundaries of each mask.
Note
Although a DINOv3 project requires only a small number of labeled samples, your overall training dataset should still be exhaustive and include all object classes you expect the model to detect. At the same time, avoid labeling excessively large images or too many images at once, as very large fully annotated inputs can exceed platform memory limits and cause training failures.
To label with Smart mask tool
- In the Projects module, select your picking and grading project.
-
In the Label center section, select the needed import or click the right-arrow button (
 ).
).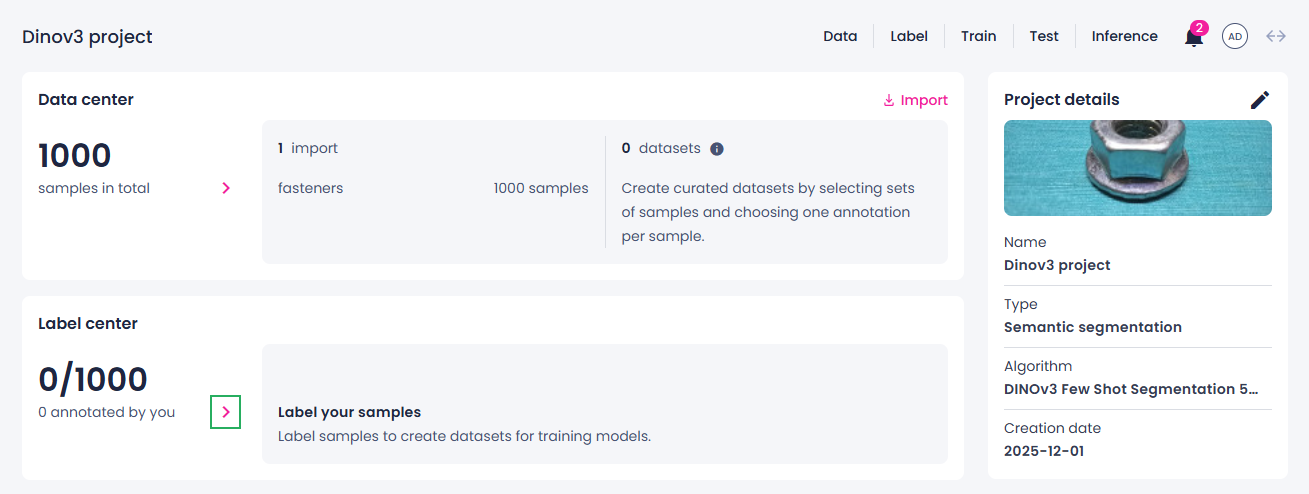
The data opens in the label center.
-
To add a new class:
-
In the left panel, in the Classes section, click Add first class or the plus button.
-
Enter the class name and press Enter.
-
-
To generate potential masks for multiple images, in the thumbnails or list view, select or filter the images for which you want to generate the masks.
-
In the left panel, in the Label tools section, select the Smart mask tool.
-
To start analyzing the samples, select Analyze samples.
You can now track the progress of the analysis process.
-
To stop the analysis, click the stop button (
 ), and then, in the confirmation dialog, click Confirm.
 -
In the single view, hover over the image to preview the detected masks, and then click over the ones you want to save.
-
To adjust the selected element, do one of the following:
- To add to an existing annotation, select the necessary item using the Select tool. Select the necessary tool, click Add to item, and then make a new selection to intersect with the existing selection.
- To subtract from an existing item, select the necessary item using the Select tool. Select the necessary tool, click Cut from item, and then make a new selection to intersect with the existing selection.
-
To change the class of a selected label, in the Classes list, select the necessary class.
Your annotations are displayed in the Annotations panel on the right. Note that members with the Labeler role can view only their own annotations or annotations generated by the Prediction tool.
-
In the lower-right corner, click Submit.