Set up cameras
To use cameras for data recording and inference, set up the required number of cameras, configure them, and complete the calibration process:
To set up cameras
- On the menu, go to System > Camera management.
- On the Cameras tab, in the upper-right corner, click Create camera.
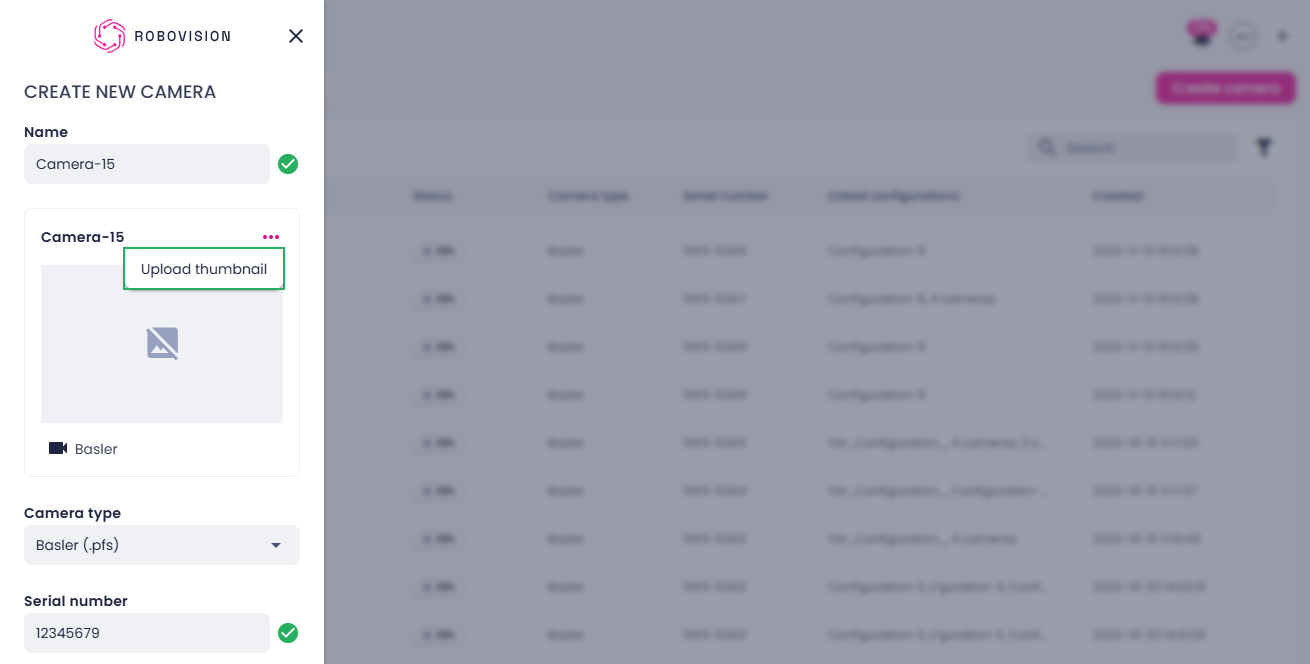
- If necessary, edit the default camera name.
-
To upload a camera thumbnail from your computer:
- Next to the camera name, click the ellipsis button.
-
Select Upload thumbnail.
-
Select an image on your computer, and then click Open.
-
Ensure the correct camera type is selected.
- Enter the serial number.
- Click Create.
The added camera appears in the list of cameras and can be used in camera configurations. To use a camera for recording, calibration, or inference, the camera must have the Idle status displayed in the Status column.
To create a camera configuration
- On the menu, go to System > Camera management.
-
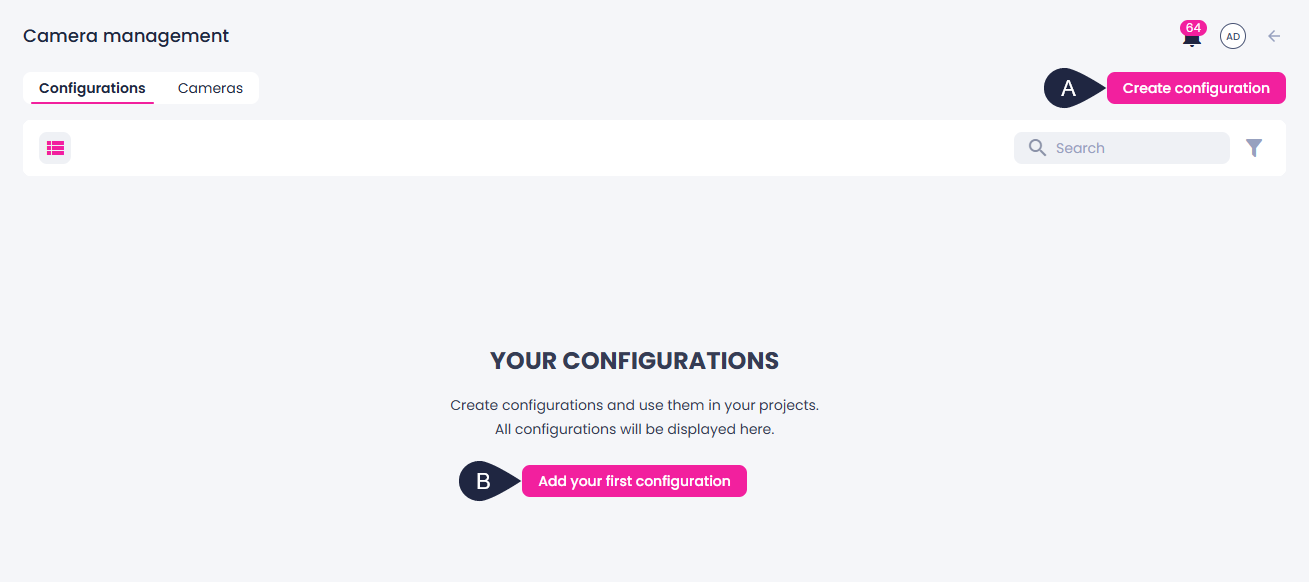
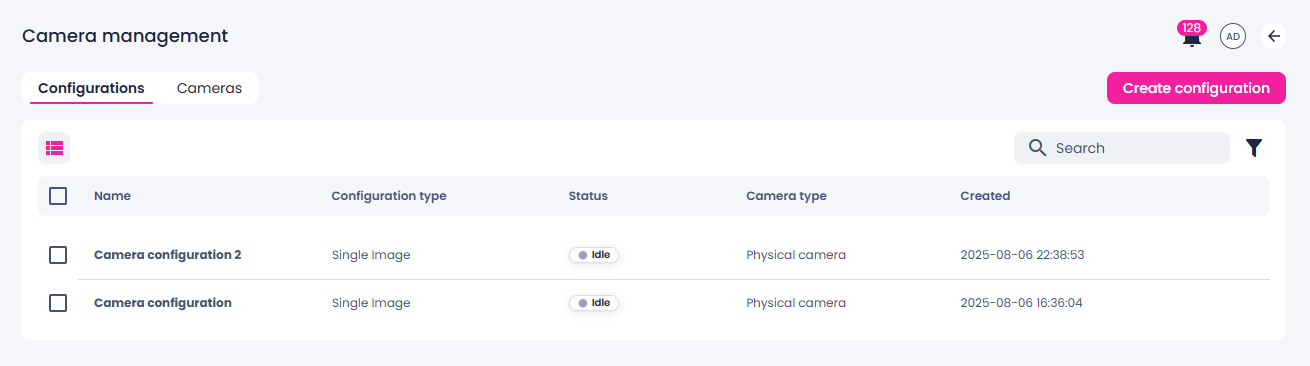
On the Configurations tab, in the upper-right corner, click Create configuration (A).
Alternatively, if there are no configurations yet, you can click Add your first configuration (B).
-
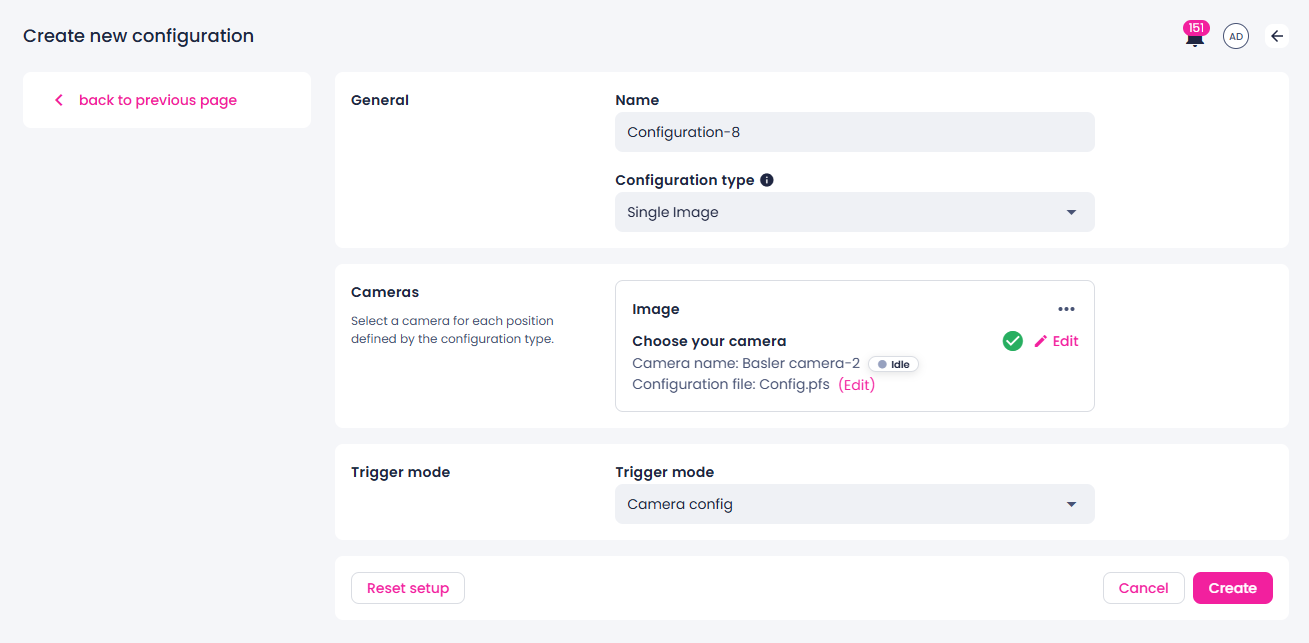
If necessary, edit the default configuration name.
- In Configuration type, ensure that Single camera is selected.
-
In the Cameras section, select a camera for each position defined by the configuration type:
- Select a camera from the list, and then click Next.
-
To upload a camera thumbnail from your computer:
- Click the ellipsis button.
- Select Upload thumbnail.
- Select an image on your computer, and then click Open.
-
Upload a file with the camera settings of a corresponding format. For this:
- Next to the Configuration file field, click Browse.
- Select a file on your computer, and then click Open.
- Click Create.
-
After selecting cameras for all required positions, click Create to save the configuration.
The saved camera configuration appears in the list of configurations. To use a camera configuration for recording, calibration, or inference, the configuration must have the Idle status displayed in the Status column.
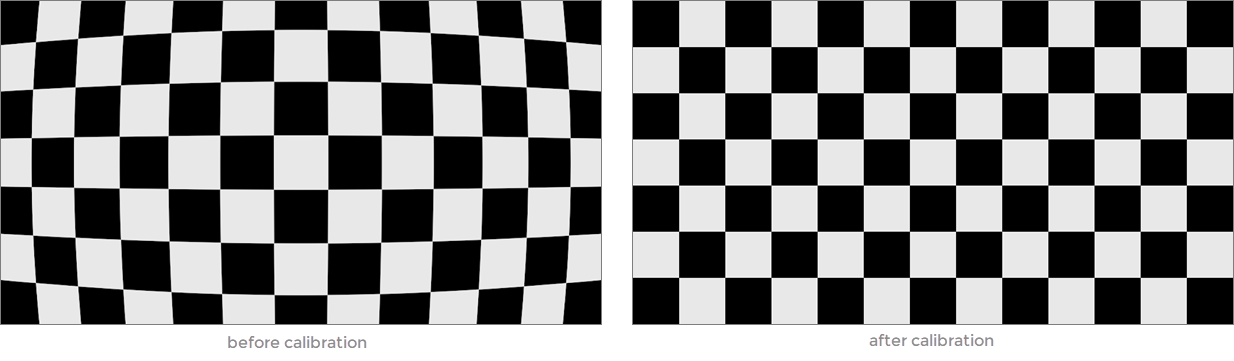
Calibrate cameras
Camera calibration is essential for accurate geometric measurements in industrial quality control and robotics. Capturing images of a known calibration target maps image pixels to real-world geometry.
To calibrate a camera
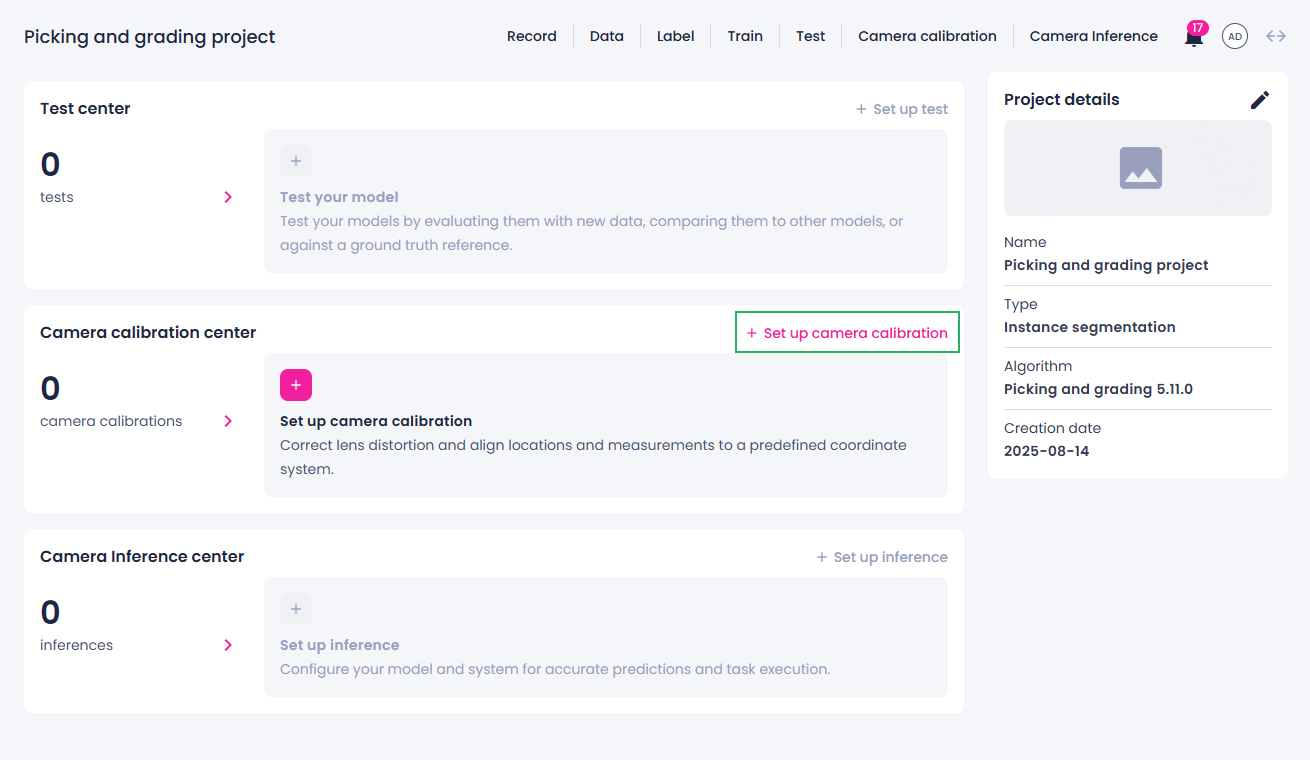
- In the Projects module, click the necessary project.
-
In the Camera calibration center section, click Set up camera calibration.
-
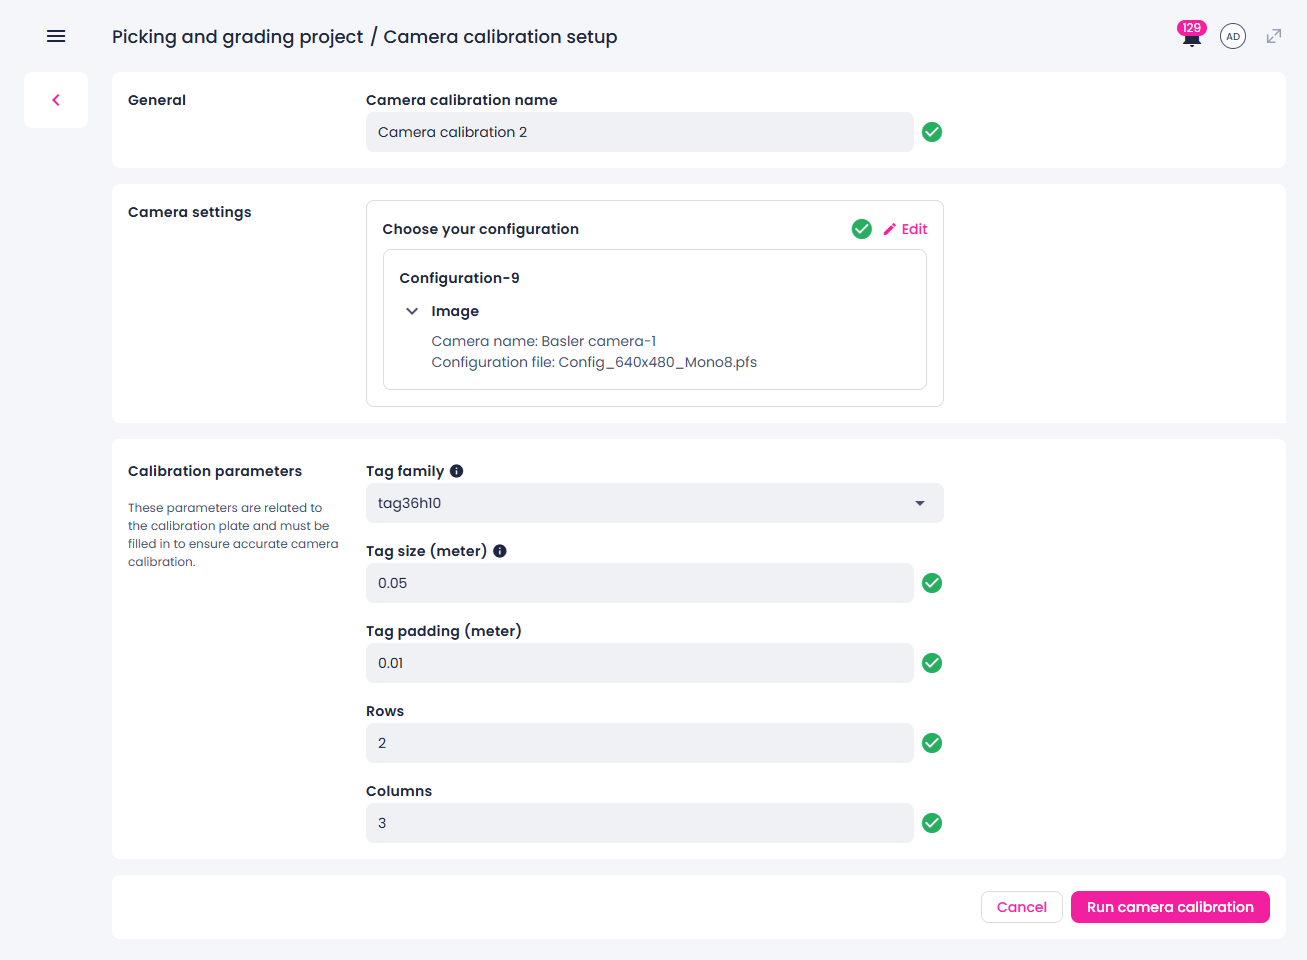
If necessary, edit the default calibration name.
-
Select a camera configuration and check its configuration file.
If the configuration file isn't suitable for calibration, edit the camera configuration and upload the correct file before proceeding.
-
Enter the calibration plate parameters:
- Tag family – type of pattern on the calibration plate.
- Tag size – physical size of each square tag (its width or height).
- Tag padding – spacing between the tags.
- Number of rows of tags in the calibration pattern.
- Number of columns of tags in the calibration pattern.
-
Start the calibration by clicking Run camera calibration.
You are redirected to the calibration center where you can monitor the calibration process and view its outputs.
-
Depending on the camera configuration, do one of the following:
- Trigger the camera using a hardware signal to capture at least one image.
- Wait for the camera to capture images at a set interval.
-
To stop the calibration, click the stop button (
 ), and then, in the confirmation dialog, click Confirm.
Your camera is now calibrated. The RMSE (root mean squared error) metric indicates the accuracy of the calibration process, with values below 2 generally considered good. The actual calibration result will be used to correct camera distortions during inference and other image processing tasks.